Interactivity features allow you to create engaging learning experiences making courses more dynamic and learner-centered.
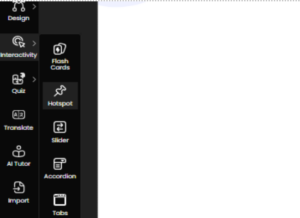
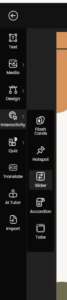
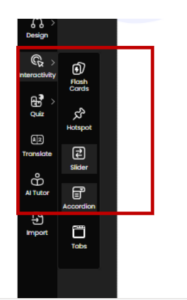
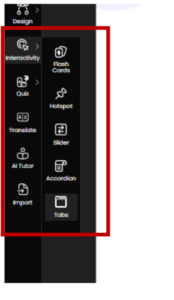
To enhance your slide with interactive elements, navigate to the left panel and open the Interactivity drop-down menu. You will find options like Flashcard, Hotspot, Slider, Accordion, and Tab.

To insert a Flashcard, navigate to the left panel and select the first option labeled Flashcard.
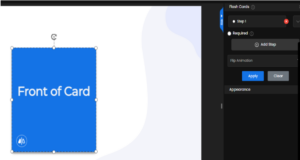
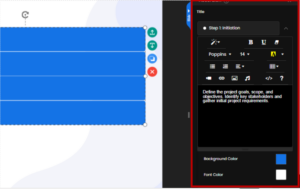
After selecting the Flashcard option, a default Flashcard will automatically appear on your slide. It will display a single step with the system’s default color and font style.
In the right drawer, you can customize each Flashcard individually. By expanding a specific card’s drop-down, you gain access to multiple editing options. For both the front and back card, you can customize the properties. Additionally, you can insert links, images, videos.
You can also add an audio to each flashcard, which can be either generated or uploaded , which will be played on the click of flash card.
For generate , Add the text, choose the audio and voice style. You can choose between read or enhance option, you can click ON – for the auto play and then click on insert.
For upload , just upload the audio file and click insert.

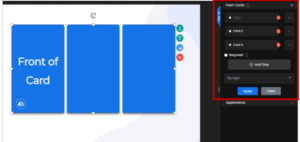
You can enable the Required option, which ensures that learners must complete all Flashcards before proceeding to the next slide. Additionally, you can customize the flip animation to determine how the card transitions should happen. Click on Apply button to save your changes.
To insert a Hotspot, navigate to the left panel and select the second option labeled Hotspot.
After selecting the Hotspot option, a default Hotspot will automatically appear on your slide. It will display a single step with the system’s default color and font style.
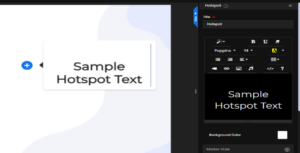
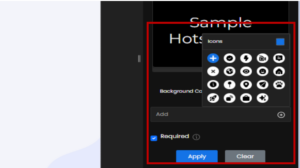
To edit a specific Hotspot, use the right drawer. From here, you can customize the hotspot properties. You also have the ability to remove previously applied formatting. In addition, you can enrich the Hotspot by adding video, images, or links, and customize its appearance further by changing the background color.
At the bottom panel, you will find the option to add icons to your Hotspots. Choose the icon that best fits your content from the available options. You can also enable the required setting, which makes it mandatory for learners to interact with the Hotspot before proceeding. Once all edits are complete, click Apply to save and implement your changes.
You can also add an audio to hotspot, which can be either generated or uploaded , which will be played on the click of hotspot. For generate , Add the text, choose the audio and voice style. You can choose between read or enhance option, you can click ON – for the auto play and then click on insert.
For upload , just upload the audio file and click insert.
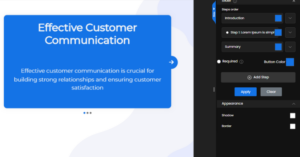
To insert a Slider, navigate to the left panel under Interactivity and select the Slider option.
After selecting the Slider option, a default Slider will automatically appear on your slide. It will display the system’s default color and font style.
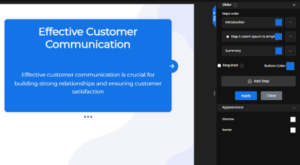
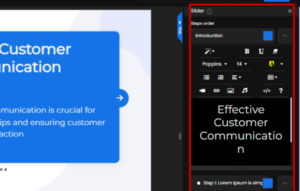
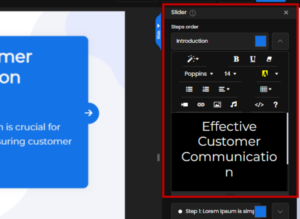
The Slider element is preloaded with default content. Each step can be edited individually through its drop-down menu. You can customize the text by applying formatting options . Additionally, you can enrich the content by adding links, images, videos, or audio and customize its appearance further by changing the background color.
Please note that changes must be applied separately to each step in order for them to reflect across the entire Slider.
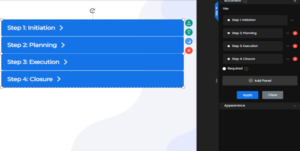
At the bottom panel, you will find additional customization options for your Slider.
You can add extra steps as needed, change the color of the navigation arrow buttons, and enable the Required setting, which ensures learners must complete the entire Slider before moving to the next slide. Once all modifications are made, be sure to click Apply to save your edits.
You can also add an audio to slider, which can be either generated or uploaded , which will be played on the click of slider. For generate , Add the text, choose the audio and voice style. You can choose between read or enhance option, you can click ON – for the auto play and then click on insert. For upload , just upload the audio file and click insert.

To insert an Accordian, navigate to the left panel and select the third option labeled Accordian.
After selecting the Accordian option, a default Accordian will automatically appear on your slide. It will display the system’s default color and font style.
The Accordian element is preloaded with default text. Each panel can be edited individually through its drop-down menu. You can customize the text by applying formatting options. Additionally, you can enrich the content by adding links, images, videos, or audio and customize its appearance further by changing the background color and the panel font color.
You can even change the topic name above the edit tab that will appear on the each Accordian panel. Please note that changes must be applied separately to each step by clicking Apply in order for them to reflect across the entire Accordian.
At the bottom panel, you will find additional customization options for your Accordian. You can add extra panels as needed, and enable the Required setting, which ensures learners must complete the entire Accordian before moving to the next slide. Once all adjustments are made, be sure to click Apply to save your edits.
You can also add an audio to accordian, which can be either generated or uploaded , which will be played on the click of accordian. For generate , Add the text, choose the audio and voice style. You can choose between read or enhance option, you can click ON – for the auto play and then click on insert. For upload , just upload the audio file and click insert.
To insert a Tab, navigate to the left panel under Interactivity and select Tab.
After selecting the Tab option, a default Tab will automatically appear on your slide. It will display the system’s default color and font style.
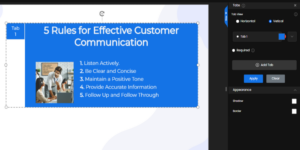
To edit your Tab, begin by selecting the desired tab view, either Horizontal or Vertical. You can then customize the tab’s appearance by changing its color and assigning a title or topic name. Below, you will find content editing options. These allow you to modify the text and enrich the tab by adding media elements such as videos, audio, links, or images.
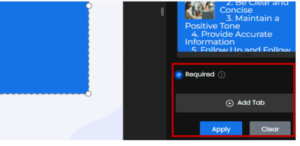
At the bottom panel, you will find the option to add additional Tabs as needed. You can also enable the Required setting, which ensures that learners must complete all Tabs before moving to the next slide. Once you finish editing, click Apply to save your changes.
You can also add an audio to Tab, which can be either generated or uploaded , which will be played on the click of Tab. For generate , Add the text, choose the audio and voice style. You can choose between read or enhance option, you can click ON – for the auto play and then click on insert. For upload , just upload the audio file and click insert.