Themes for the courses are available on the left panel under Design Tab.
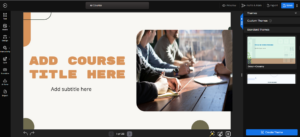
On the right panel, you will see the option for Standard Theme. If you scroll down, you’ll find multiple pre-made theme options. Simply click on any of them, and the selected theme will be applied to all your slides.
To create a custom theme, go to the right panel and scroll down to find the Create Theme option. Click on it to get started.
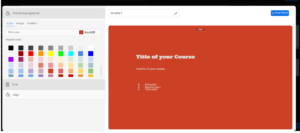
Once you click on Create Theme, the custom theme layout will open. On the right-hand side, you’ll see a preview of how the layout will appear with text elements.
On the left-hand side, you’ll find options to edit the Background, Font, and Logo. At the top, you can edit the name of your theme. After making all changes, click Save Theme on the top of the left panel to save your custom theme.
Under the Theme Background you have the colour, Image and Gradient options.
For Colour, you can choose from multiple preset colors. At the top, you’ll also see the Pick Color option, which allows you to select a color from anywhere on your screen or directly enter a color code.
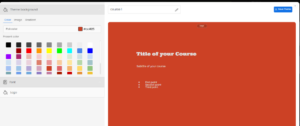
For Image, you can search and select a suitable background or upload option, which allows you to insert an image directly from your device’s gallery.
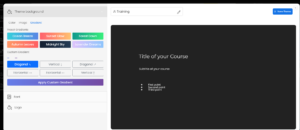
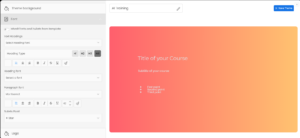
For Gradient, you can choose from the gradient option and select orientation of the gradient. You can have the Custom Gradient option which allows you to create your own gradient by selecting and adjusting two different colors.
Within the Font drop-down, you can customize the text formatting for both headings and paragraphs. For headings, you can choose the style type—Header 1, 2, 3, or 4 along with formatting options such as text color, alignment, bold, italic, underline, strikethrough, or clear formatting. Similarly, under Paragraph Font, you can edit the style and appearance of paragraph text, as well as configure the design of bullet points to match your theme requirements.
Under the Logo drop-down, you can upload a logo or remove an existing one if you wish to replace it. You can also adjust the logo’s position on the slides, modify its size, and set the desired opacity. Additionally, a preview is displayed at the top, allowing you to see exactly how the logo will appear on your slides once uploaded.
Once all desired changes have been made, your custom template is ready. Enter a name for your template and click Save Theme to finalize and save it.
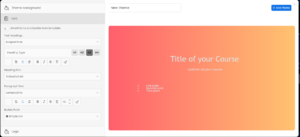
Once you click on Create Theme, the custom theme layout will open. On the right-hand side, you’ll see a preview of how the layout will appear with text elements. On the left-hand side, you’ll find options to edit the Background, Font, and Logo. At the top, you can edit the name of your theme. After making all changes, click Save Theme on the top of the left panel to save your custom theme.