We can create AI Avatar video from
- Text to Video
- Speech to Video
To create a AI Avatar video, navigate to the left panel, and select AI Avatar Video.
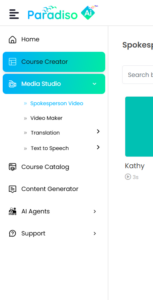
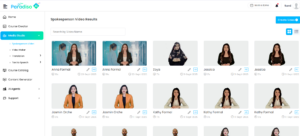
After selecting Spokesperson Video, a screen will appear displaying previously generated spokesperson results. At the top right, you will see the Create Video option. Click on it to proceed.
Once you click on Create Video, the Video Generator screen will appear.
It will have Text to Video and Speech to Video Options
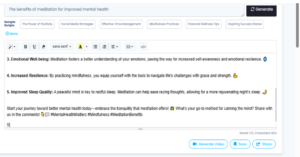
On Text to video, in the left panel, you can select options such as case type, tone, and creativity level. In the center, you will find the field to enter your topic, along with sample scripts for reference. Below this section, the generated video speech will be displayed.
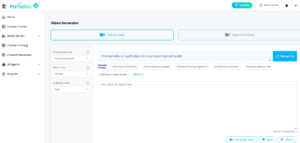
Next is to enter the topic for which you want to generate the video. Simply type your topic in the given field and click on the Generate button. Additionally, you will find a set of sample scripts provided below, which you can select and use as a starting point if required.
Once you click on Generate, the scripts will be created and displayed below. You also have the option to review and edit the script as needed. After making the necessary changes, simply click on the Generate Video button to proceed.
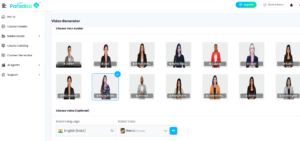
When you click on Generate Video, you can choose the preferred avatar from the samples provided for your video. (You can click on each avatar for a preview).
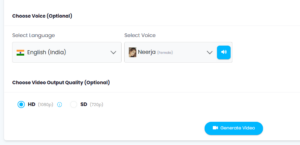
You also have the option to customize the voice, from the options provided. Here, you can select the language and choose from different male and female voices.
You can also choose the preferred quality of video also, Once you’ve made your selections or kept the defaults, simply click on Generate Video to finalize.
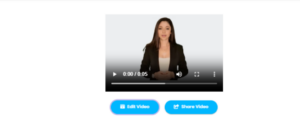
Once the spokesperson video is generated your video will be saved under the AI Avatar video. If you further want to edit the video, you will see additional options appear below. From here, you can choose to Edit Video or Share Video it directly.
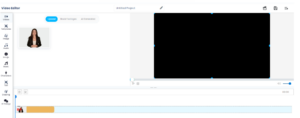
When you click on Edit, you will be redirected to a new tab that opens the Video Editor. On the left panel, you can explore various features such as adding templates, images, audio, emojis, music, characters, text, drawings, and dialogue. Once your edits are complete, use the Generate Video and then Save Video option at the top-right corner. The saved video will then appear under Video Studio.
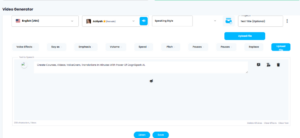
On Speech-to-Video option,
click on the Speech-to-Video tab. This will open a new screen with several customization options.
First, select the language and choose your audio style. Below that, you can adjust voice effects, including emphasis , volume, speed, pitch, and pauses with specific durations.
There is also a Replace option, which allows you to upload a file. Once you are done setting these preferences, click on Save and Listen.
Finally, scroll to the bottom of the screen, select an avatar, and click Generate Video.