Adding a course
By default, a regular instructor can’t add a new course. To add a new course to LMS, you need to have either Administrator, Course Creator or Manager rights.
We have two different ways to add a course:
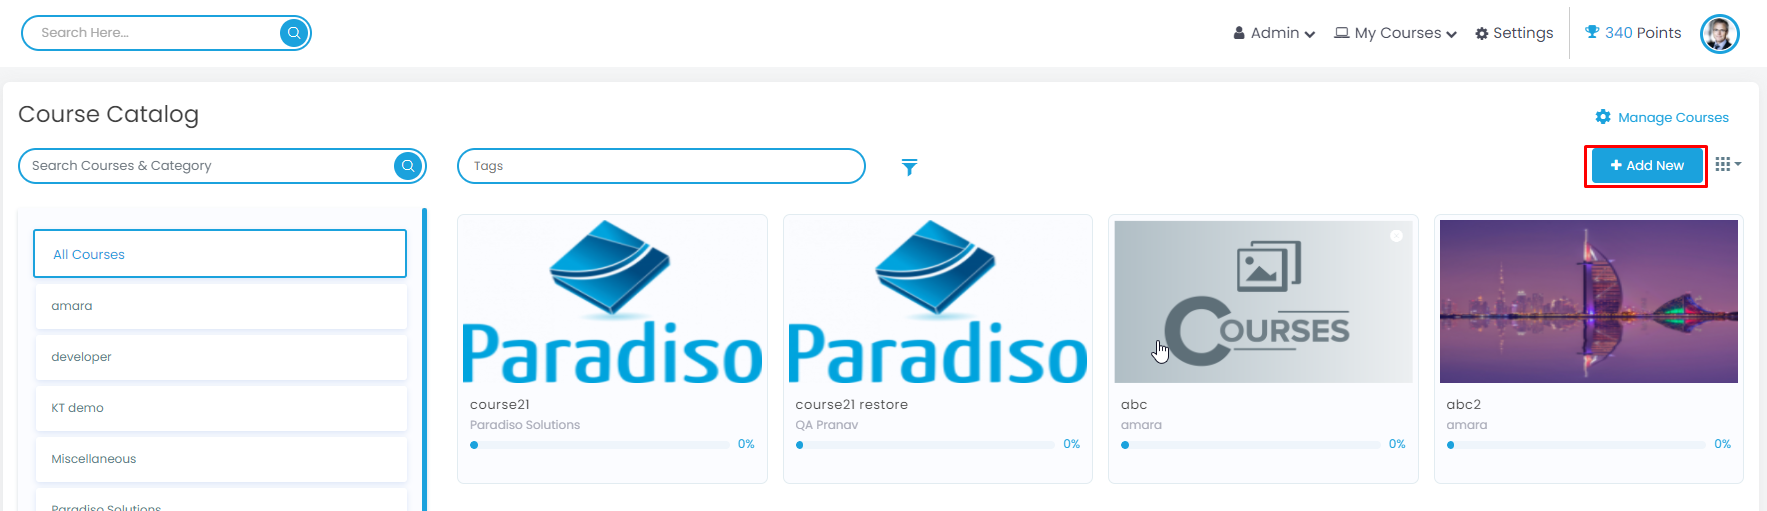
- From the Settings, go to Courses > Manage courses and categories
- Click Create a new course in the category page on the right
Then:
A new page will show up for the course creation.
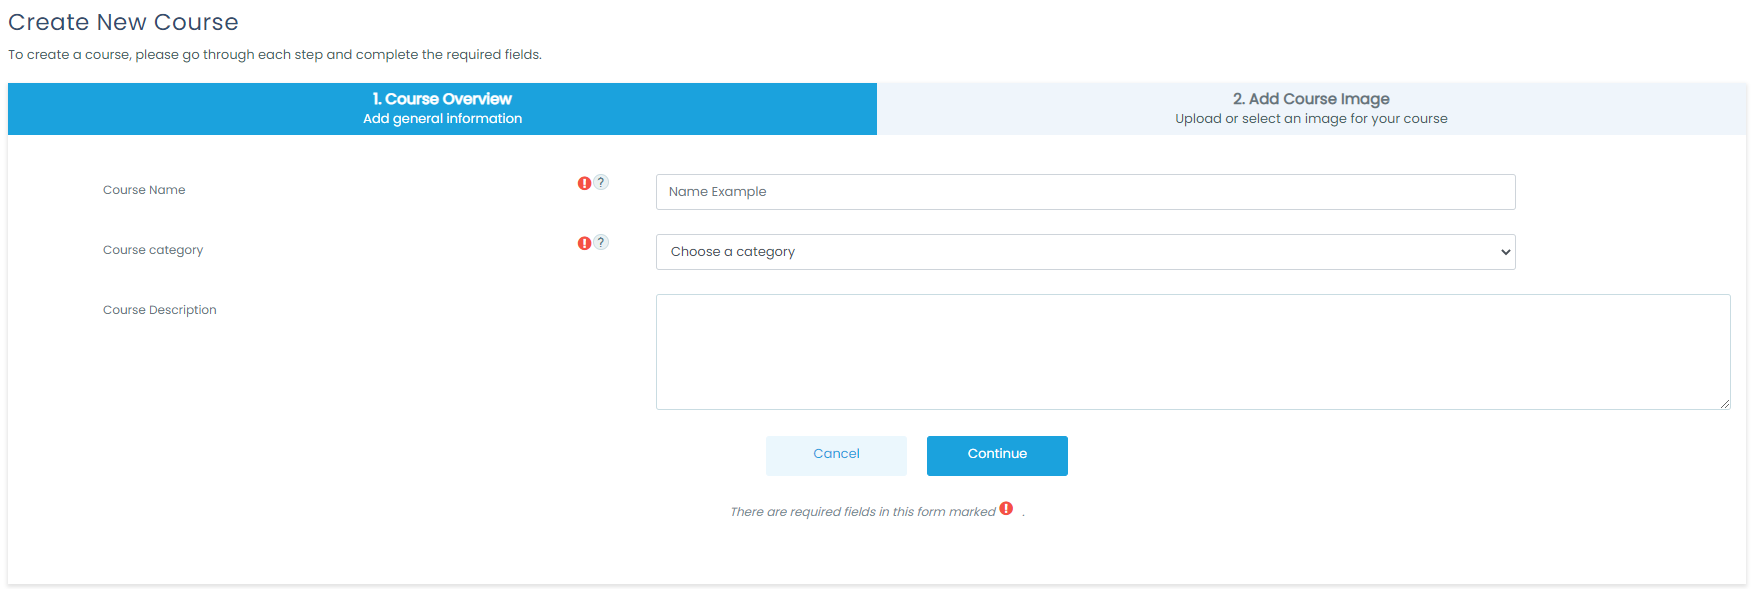
Step 1: Course Overview
- Type the name you want for your course on “Course full name” field
- Click on the category dropdown where you want your course to be. For more information see Course categories
- In the “Course summary” field, you can write a brief description of what your course is about. However, this field is not mandatory.
- Click on “Continue”.
Step 2: Add Course Image
- To add an image, you can drag and drop the image you selected into the field, or click on the “add” icon ( page icon on the up left corner) and choose the best option to upload the image.
- If an image has already been updated in a different course, it will be displayed in the bottom part and you can select any of them.
- Once your image is chosen, click on “save”
- The page will take you to the page where you can start adding activities immediately.
Note: To edit more detailed settings, click the gear icon in the upper right corner of the page (“Course Settings). For more information, go to Course settings
Deleting a course
Instructors cannot delete courses. Managers (i.e. users with a role for which the capability lms/course:delete is allowed) can delete courses and course creators can delete courses they have created themselves, but only within 24 hours of creating the course. This is so that courses created by mistake may be deleted without needing to ask an administrator.
Administrators can always delete courses.
To delete a course (as an admin or manager):
- Go to “Course Catalog”. All the courses that have been created by the administrators or course creators will be displayed.
- When you mouse hover by any of the courses, an “x” icon will show up in the upper right corner of it.
- Once you click the “x”, a confirmation message will show up to finish the process.
- Once the “Delete” button is clicked, a message will pop up to confirm the course has been deleted.
You can delete multiple courses by:
- Creating a new (temporary) category. You can name it “To be deleted”.
- Select and move the “About to be deleted” courses to that category (“To be deleted”).
- Delete the category (“To be deleted”) and choose “Delete ALL – cannot be undone”.
There is no user interface for course creators to delete courses they have created; however, they can do so by editing the URL of the course from http://yourlmssite.net/course/view.php?id=N to http://yourlmssite.net/course/delete.php?id=N (replacing ‘view’ with ‘delete’).
Sorting courses
Courses may be sorted by an admin or manager from Settings > Courses > Manage courses and categories.
Courses may be sorted by ascending/descending and by time created.
Course requests
The course request feature can be enabled by an administrator in Administration > Site administration > Courses > Course request.
An admin can set the default category for course requests, whether users can select a category when requesting a course, and who can receive notification of course requests (from a list of users with the capability lms/site:approvecourse).
A ‘Request a new course’ button will then appear on the ‘All courses’ page. The All courses page can be accessed via a link in the Courses block.
If “course requests” are enabled, by default all authenticated users can make course requests. See Course requester role for details of how to restrict users who can make course requests.
Bulk course creation
For full details on how to bulk create courses and use course templates, see Upload courses.
- Go to Settings > Courses > Upload courses.
- Upload a CSV file either by dragging and dropping or using the button to select from the File Picker.
- Select your import options and click Preview. If the settings are acceptable, click Upload.
Course templates
It is possible, from Settings > Courses > Upload courses to specify a course and settings to use as a template for future courses.
Default blocks for new courses can also be configured in config.php.
Using an existing course as a template
First, create or locate on your LMS the course you wish to use as a template and make a note of its shortname. A template course might, for example, have common headings or section summaries or policy agreements used throughout the site for consistency.
Note that only the content of the course will be restored; not its settings. Settings are added separately.
Method 1
- Create your csv file. See Upload courses for accepted fields.
- From the Site administration link, click Courses>Upload courses and add your file.
- Preview it and scroll down to ‘Course process’. In the box ‘Restore from this course after upload’, add the shortname of your template course.
- If you are creating several courses using the same template and you wish them all to have the same settings, you can specify these in the Default course values.
- Upload your csv file.
Method 2
- All the settings and the chosen template course can be specified in the csv file you create. Use templatecourse as the field for your chosen template course, and use the course shortname. See Upload courses for a full list of fields you can include.
- Here is an example of a csv file for restoring a course to be used as a template. It specifies, for example, the theme, language, enrollment method and alternative names for user and instructor.
shortname,fullname,category,newsitems,theme,lang,format,enrollment_1,enrollment_1_role,role_student,role_teacher,templatecourse
Knit,Knitting,2,0,afterburner,fr,topics,manual,student,NewKnitter,MasterKnitter,OMT
- Go to Administration>Site administration>Courses>Upload courses and add your csv file.
Using a backup course as a template
It is possible during the process of creating courses with a csv file in Site administration>Administration>Courses>Upload courses to specify and upload a backup file to be used as a template.
- Create your csv file. See Upload courses for accepted fields.
- From Site administration>Administration>Courses>Upload courses, add your file.
- Preview it and scroll down to ‘Course process’. In the box ‘Restore from this file after upload’, add the backup file you wish to use as the template.
- If you are creating several courses using the same template and you wish them all to have the same settings, you can specify these in the ‘Default course values’ section.
- Alternatively, you can specify the course settings (such as format, enrollment methods, language) in the csv file. This method is useful if you wish different courses using the same template to have different settings.
- Upload your csv file.
Using the course templates plugin
With emeneo’s course templates plugin, you can very easily create template-based courses.