- Multitenant
- Interactive Content
- Social Wall
- Skill Gap Analysis
- LXP
- Automation Hub
- Q&A
Contents
1 How to add content
2 Course Presentation
3 Interactive Video
4 Flashcards
There are 3 available Interactive Contents to choose from the drop down.
How to add content
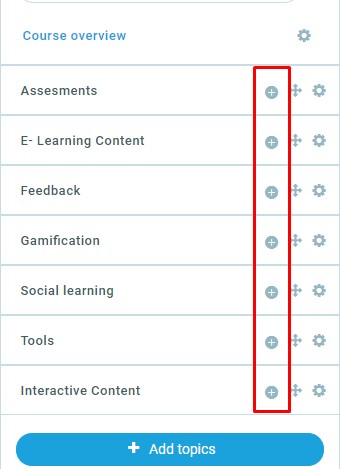
In the Left Navigation course format, after enabling the “customize this page”button, click the “Add content” button.
In the left menu of the pop up page that will show up, go to “Main Content” or, type “Interactive content” on the search bar, click the activity and then, click the “Add” button.
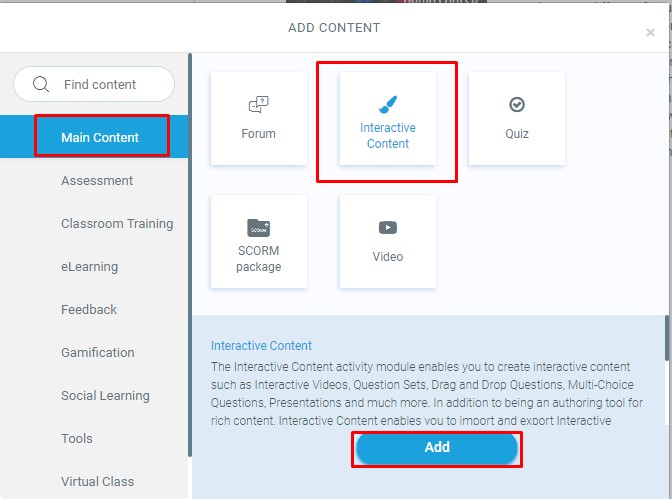
Once the activity is added, when setting it up, and choose the kind of interactive content you want to add.
Course Presentation
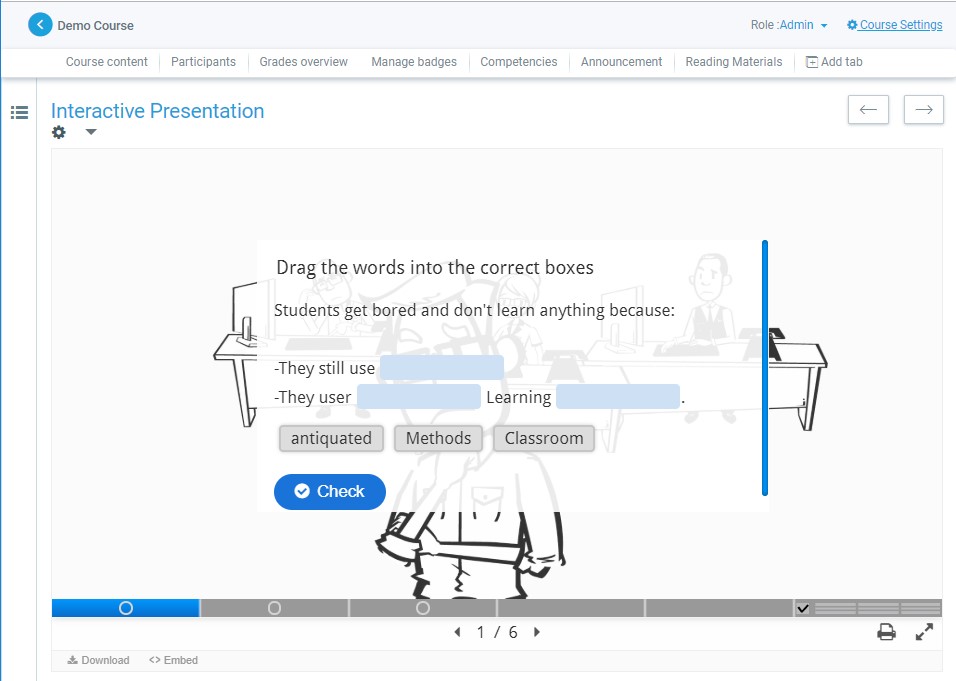
Course presentations consist of slides with multimedia, text, and many different types of interactions like interactive summaries, multiple choice questions and interactive videos. Learners can experience new interactive learning material and test their knowledge and memory in Course Presentations. Content is editable in web browsers, and the Course Presentation activity type includes a WYSIWYG drag and drop based authoring tool. A typical use of the Course Presentation activity is to use a few slides to introduce a subject and follow these with a few more slides in which the user’s knowledge is tested. Course Presentations may however be used in many different ways, including as a presentation tool for use in the classroom, or as a game where the usual navigation is replaced with navigation buttons on top of the slides to let the user make choices and see the consequences of their choices.
Example
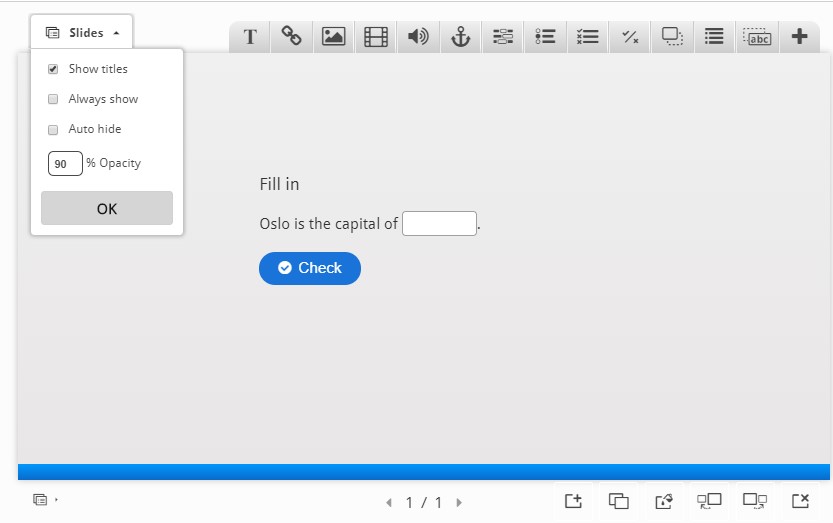
The controls
The Course Presentation editor is WYSIWYG. The end user view of the Course presentation will look very similar to editor view. The controls are located at both the top and bottom of the editor.
Step 1 – Creating Slides
- At the bottom of the page, click the first “+” icon. This will add one slide at the time.
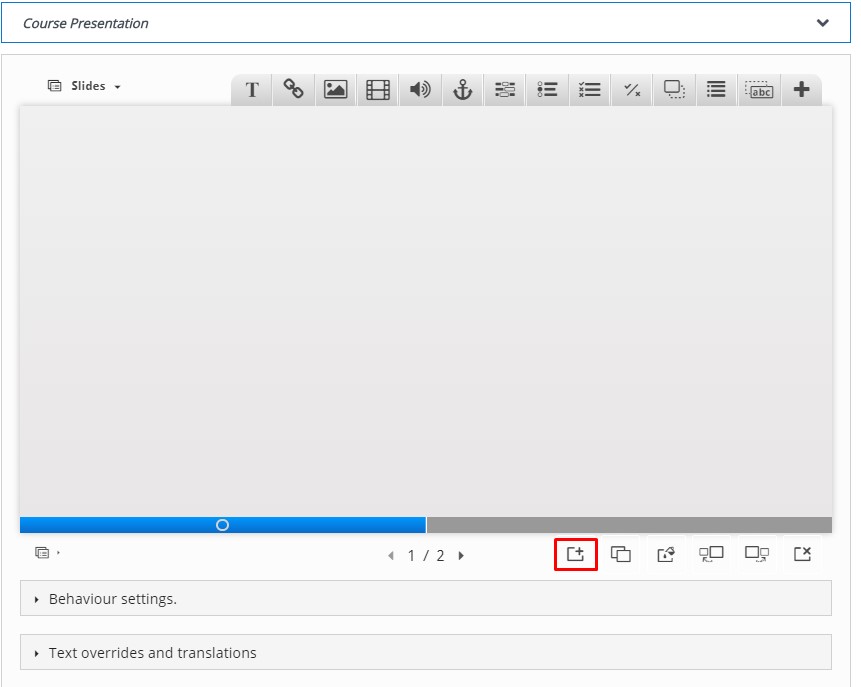
- When adding a slide, the blue bar will be split and this will allow navigating through the
Step 2 – Add Images
- Add the pictures by using the image button in the top toolbar.
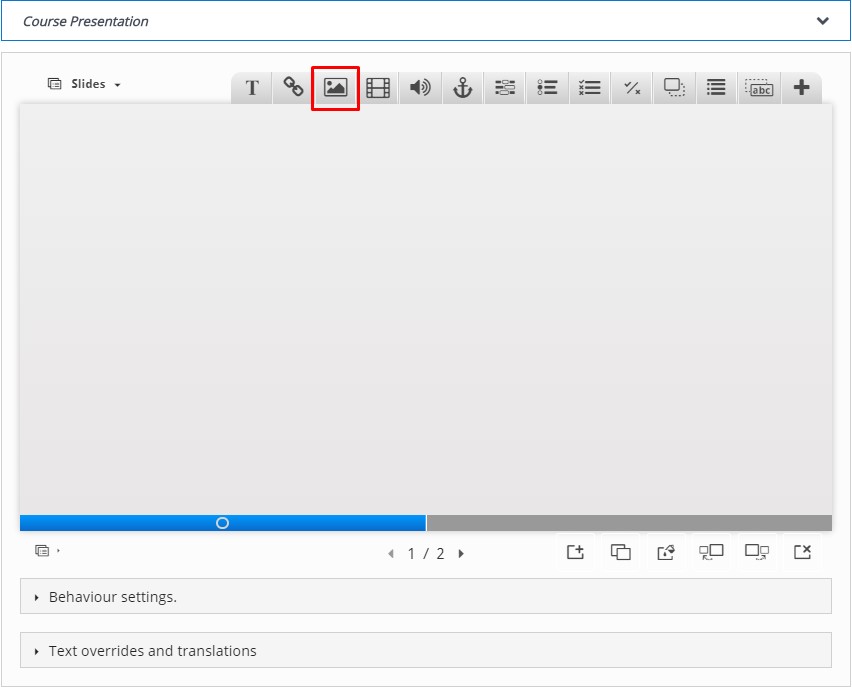
Press this button, drag it to where you want the image to be placed and drop it there. A dialog will automatically open.
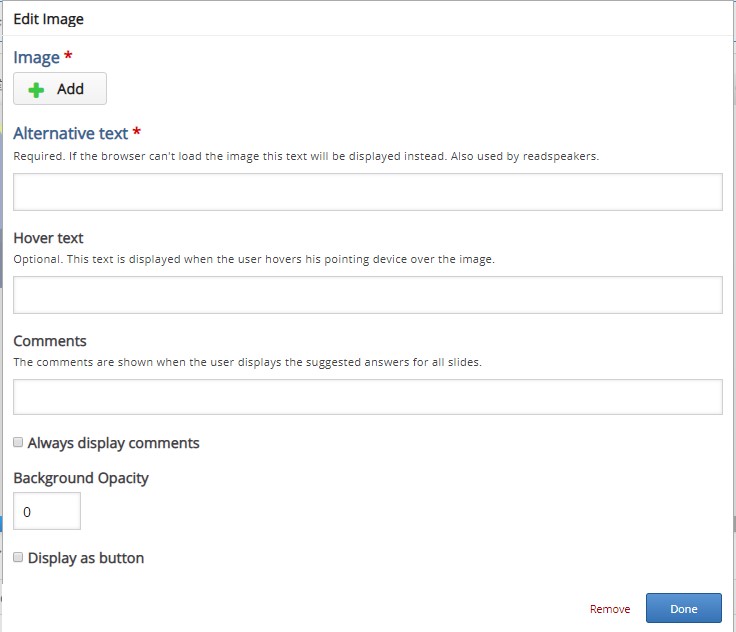
Click the “+” icon to add a file and add the needed copyright. Add an Alternative text and a Hover text.
The Alternative text is used to describe the image as an alternative to being displayed. The Hover text will show up on devices using a mouse when the cursor hovers over the image.
Click the “Done” button when finished.
Once the image is inserted it can be resized, change location, or even brought in front of the other to create backgrounds and overlay effects.
Step 3 – Add Text
Add the text by using the text button in the top toolbar.

A dialog box will appear where text can be inserted formatted and edited.

Click “Done” button when finished and the text box will appear. It can also be edited once more, moved, resized and brought in front of other elements.
More Tools Available
Besides images and text boxes, quizzes can also be embedded in these presentations: Video, Audio, hooks to other slides. Question types such as: Multiple choice, fill in blanks, drag and drop, etc.
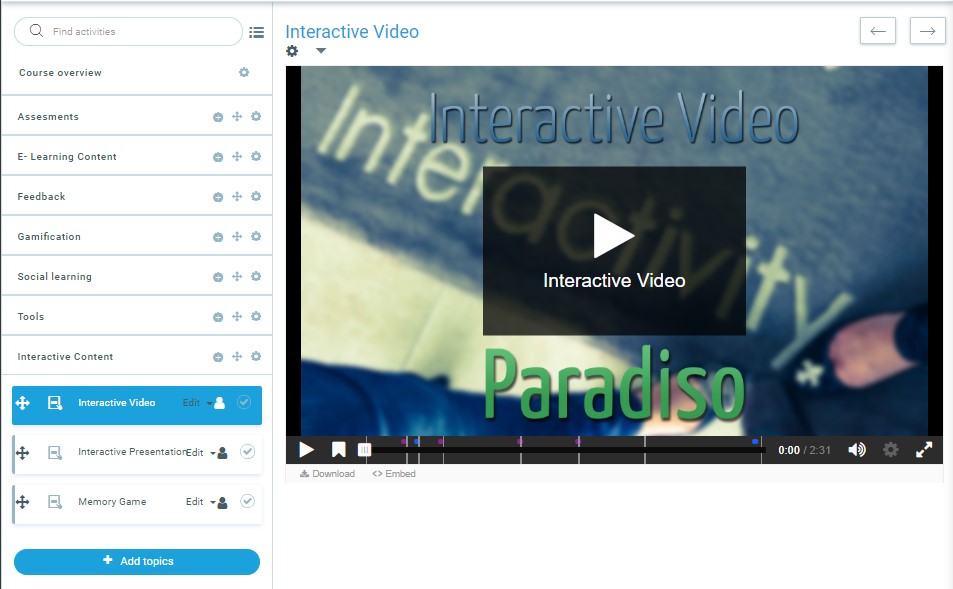
Interactive Video
Interactive videos are regular videos with interactions over them such as: Links to external URL, comments, images and more interesting features like multiple choice questions, fill in blanks, complete the answer, etc.
Example
The controls
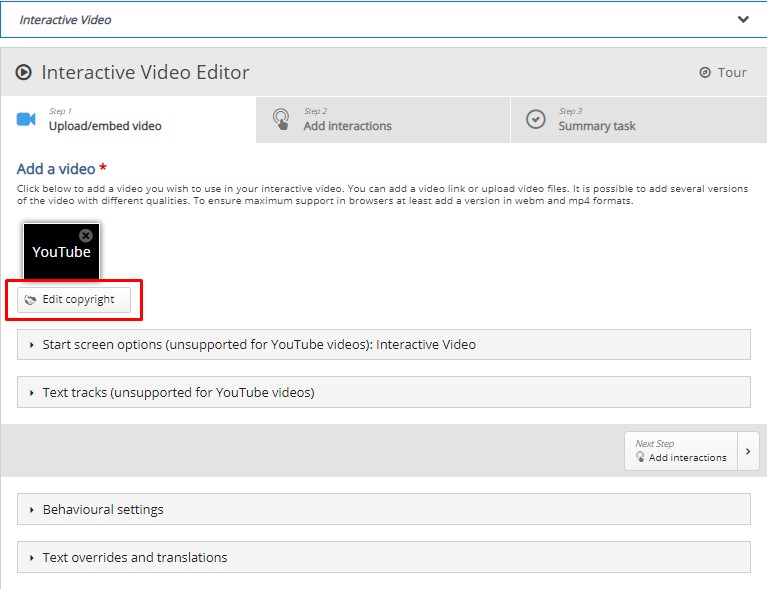
The Interactive video content type consists of three tabs: Upload video, Add interactions and Summary task. These three steps represent a natural workflow for creating an Interactive video. By default, the Upload video tab is displayed when you create a new Interactive video, and this is what you always want to start off with.

Step 1 – Upload/embed video
Here’s where we add the video clips that our Interactive video is based on.
- Press the “+” button to select a video file for upload

- A dialog box will appear where a video can be uploaded or a URL can be included.
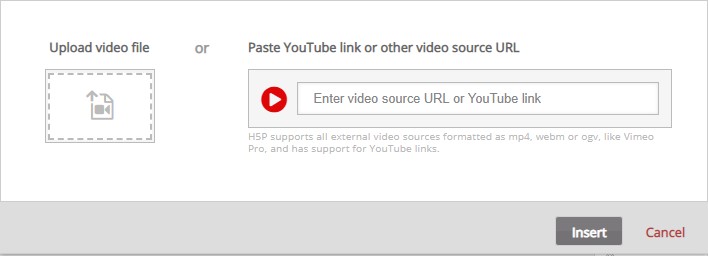
- Click “Insert” to add the video.
- A square black icon with mp4 written in it will appear.
Now, edit the copyright information by pressing the Edit copyright button below the black video clip icons:
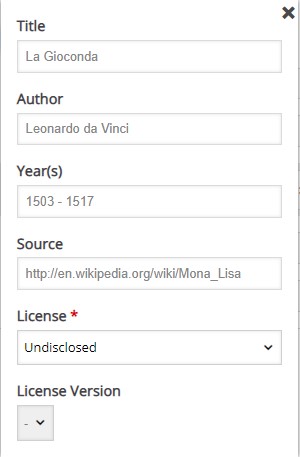
Since we are using a Creative Commons licensed video clip, we add the information below in the Edit copyright dialog.
Now that we’ve added our video files and copyright information, we’re ready to add interactions.
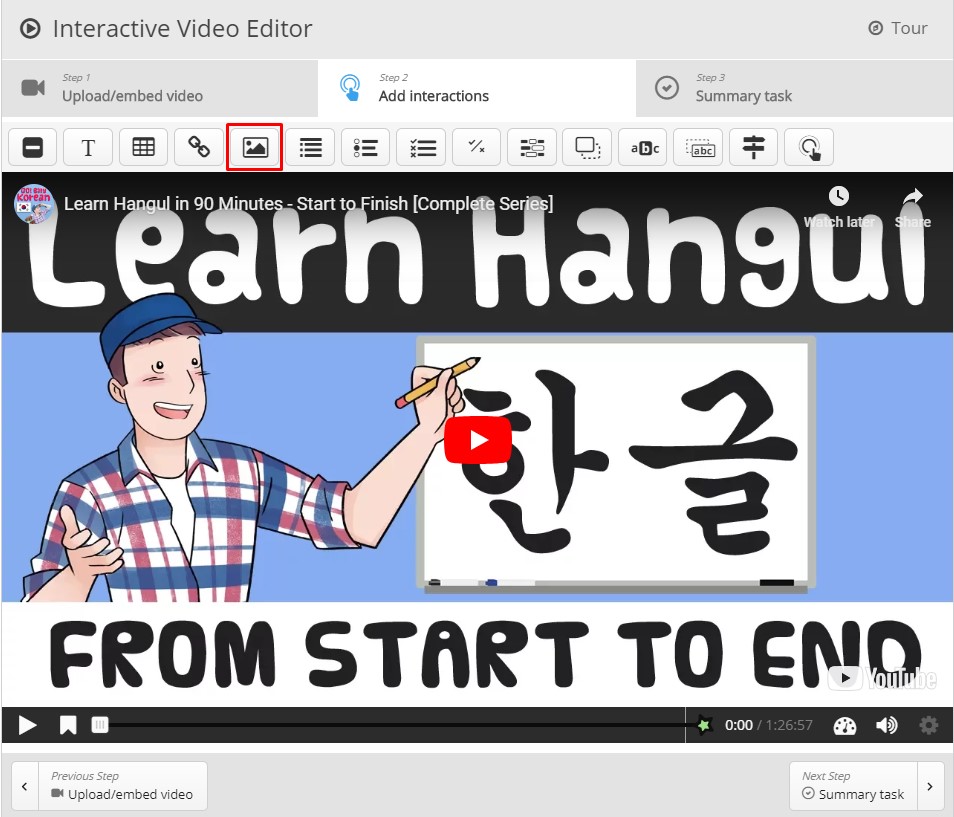
Step 2 – Add interactions
Press the Add interactions tab in the top of the editor. The video clip we added in the previous step is previewed:

We use the toolbar above the video clip to add interactions:
![]()
Buttons with blue background colors are text-based interactions. Buttons with green background colors are multimedia interactions. Buttons with grey background colors are quiz interactions.
Text interaction
We’ll add a short text about Redcurrants which the learner can choose to read.
![]()
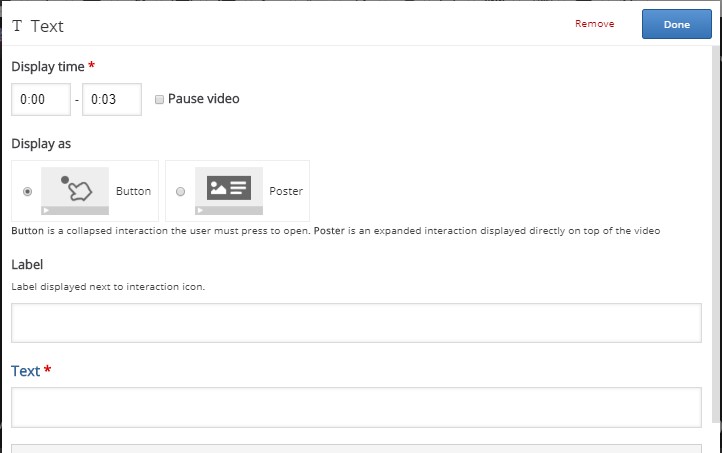
- First, add a Text interaction by pressing the Text button on the toolbar, then drag it on top of the video and drop it in the middle of the video. A dialog will appear when you drop the interaction.
- We want the text interaction to be visible in the first three seconds of the video. Type in 0:00 as start time and 0:03 as end time in the Display time field. In this case, we don’t want the video to stop automatically when the interaction appears, so we’ll leave the Pause checkbox unchecked.
- The Label is a text that will be displayed next to the interaction icon as a short description of what the learner can expect to find in the interaction.
- In the Text field, we’ll add the actual in-depth information text about the topic you want to include in this time lapse.
- Press Done. You will now see that an icon with the label has been added to the video.
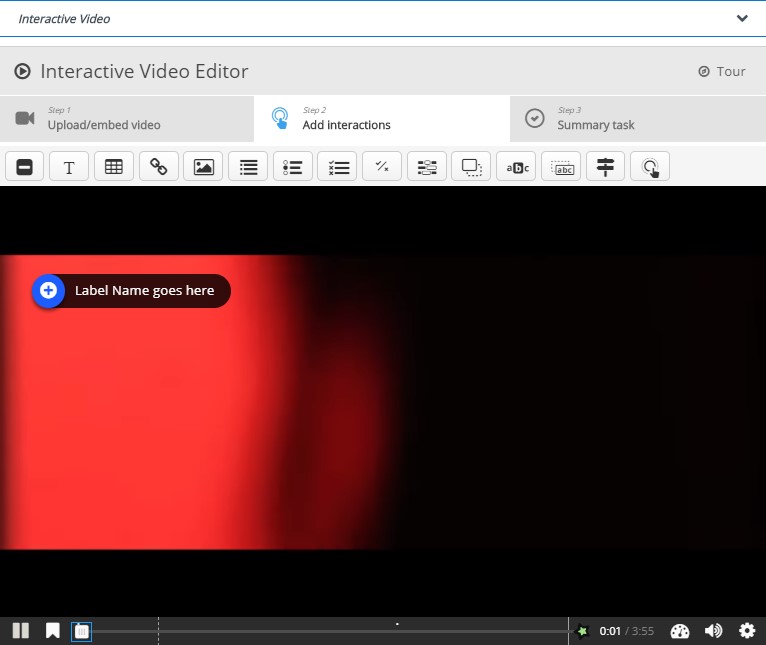
- A dot has also been added to the timeline below the video, to indicate that an interaction is available at this point in the video:

- Play the video to make sure the interaction is visible at the correct time.
Note: Double-press on interaction icons to edit interactive elements.
Image interaction
You can add an Image interaction in the same way we added the text interaction. Press the Image button, drag it onto the video and drop it where we want it to be placed.
Add the selected picture. In the Display time field, insert the range of time in which the image will be displayed. check the Pause checkbox, if you want that the video pauses when the interaction appears. Add the Label. Also use some text for the Alternative text and Hover text fields. Press Done.
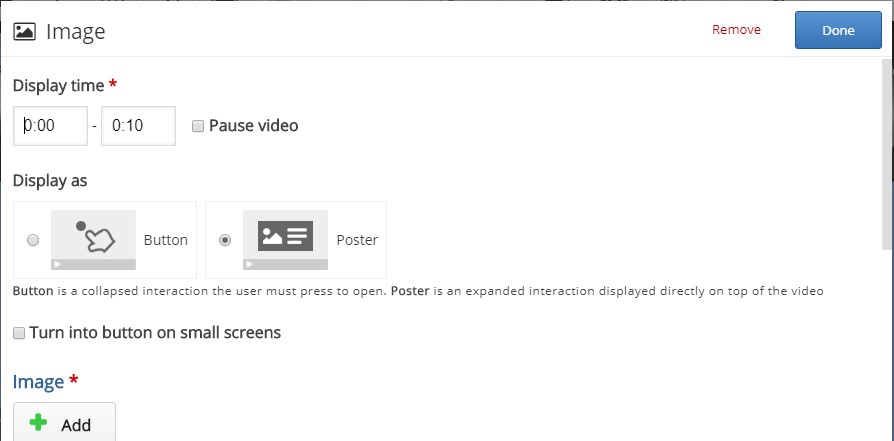
Note: Remember to add appropriate license information when using multimedia you don’t own the rights to.
Summary
At the end of an Interactive video, you can add a Summary. The Summary is intended to make the learner reflect on the learning content presented in the video.
The Summary content type allows learners to interactively build a summary of a certain topic. Summaries are a perfect way to strengthen your learners’ ability to remember by encouraging them to build interactive summaries as they learn.
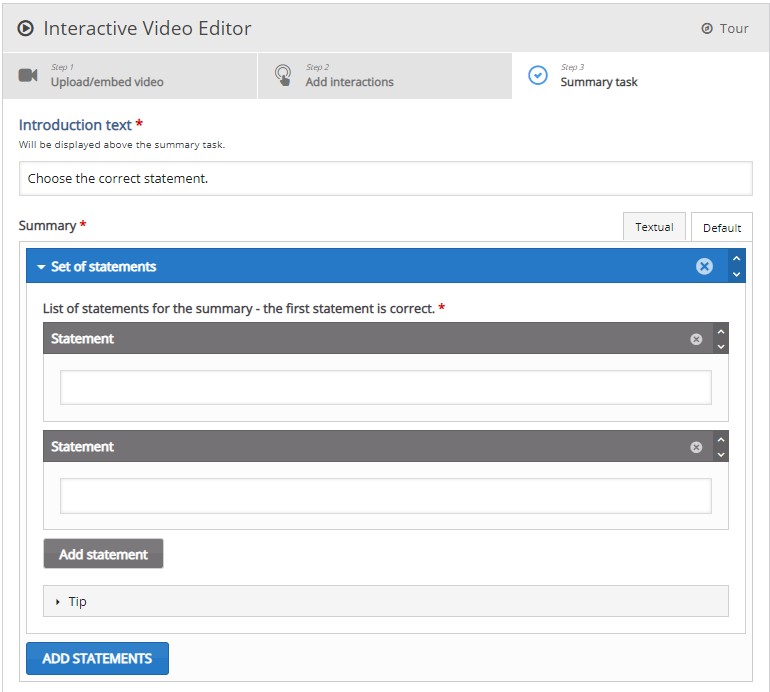
The Summary content type consists of a sequence of statement groups.
By default, the first statement group consists of two blank text fields each labeled Statement.
You need one correct statement and at least one incorrect statement in each statement group for the Summary to make any sense.
Note that the top statement in any statement group should always be the correct one. You can add as many incorrect statements as you want. Add another statement by pressing the “Add statement” button.
Press the button Add statements. This will add a second group of statements.
As the top statement should be the correct one, we will have to change the order of the statements. You change the order by pressing the arrows at the right corne of the statement group.
Press Save when you are done!
Bookmarks
Bookmarks are used to indicate a new topic, an important interaction or an event within the video.
Head back to the Add interactions step by presing this tab in the top of the editor.
Bookmarks are displayed in the bookmarks menu, which is opened by pressing the Bookmark button next to the Play button:
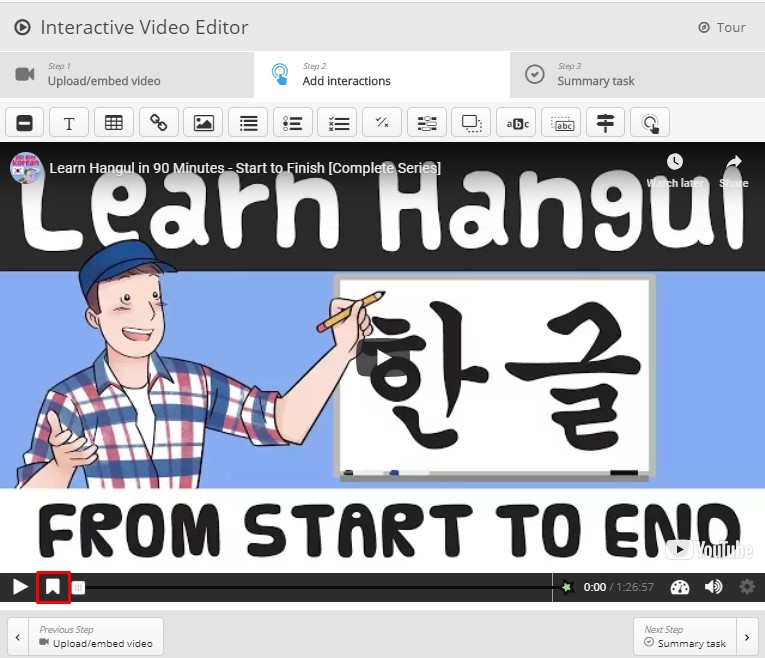
You add a bookmark by moving the playhead to a desired point in the video and pressing the Bookmark button.
You can edit a bookmark label by moving the playhead so that the bookmark you want to edit is displayed, place the cursor in the bookmark text and edit the text directly.
You delete a bookmark by pressing the “x” button to the right of the bookmark label.
Flashcards
For more information, go to Flashcard module