LMS provides an easy way for an instructor to present materials to their users such as word-processed documents or slideshow presentations. All types of files can be uploaded and accessed through LMS, but the user needs to have the correct software to be able to open them. Different file types are shown with different icons as below:
Files may be added by uploading from an external source such as a computer or USB drive, or by dragging and dropping directly onto the course page. Both options need the customize this page to be turned on.
To drag and drop a file, click and hold the file, drag it to your chosen section, and release. The file will upload and display:
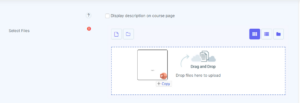
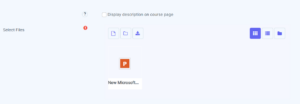
File drag and drop
Note: How users will view your file will depend on the type of file and its display settings. Find out more about display settings in the documentation File resource settings.
As an example, an uploaded slideshow presentation will not play as it would on a whiteboard, even if saved as a ‘show’. Users will be prompted to download it. (A workaround is to upload the presentation to a slide sharing site and embed it.)
Files from Google Drive and OneDrive
If the admin has enabled the feature in the Google Drive repository and/or the OneDrive repository then instructors can select a file from their Google Drive or OneDrive and display it as an ‘access controlled link’. Users can only view the file but instructors will be able to edit the file if required. This method is a useful way of displaying files which need updating frequently. However, note that files from OneDrive will not display correctly if they are embedded.