PLMS Custom navigation feature allows you to create new navigation options for your end users as well as setup the visibility based on specific roles. For example, you can limit the visibility of the “Course Catalog” to only site admins and teachers but not students. You can also create quick links for site admins or any role with permissions to access a specific admin page.
Configuration
You can configure it by going to Settings > Appearance > Elegant Theme – Custom Navigation
Click on the Settings link on the Custom Navigation screen.
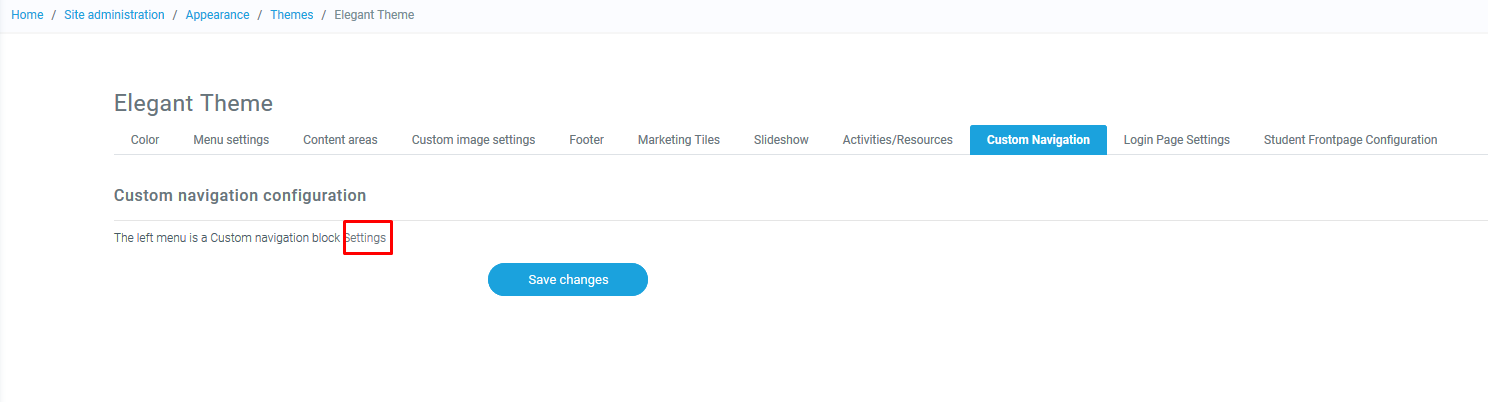
After clicking on the Settings link you will be redirected to Custom Navigation settings screen.
How to create a new menu option
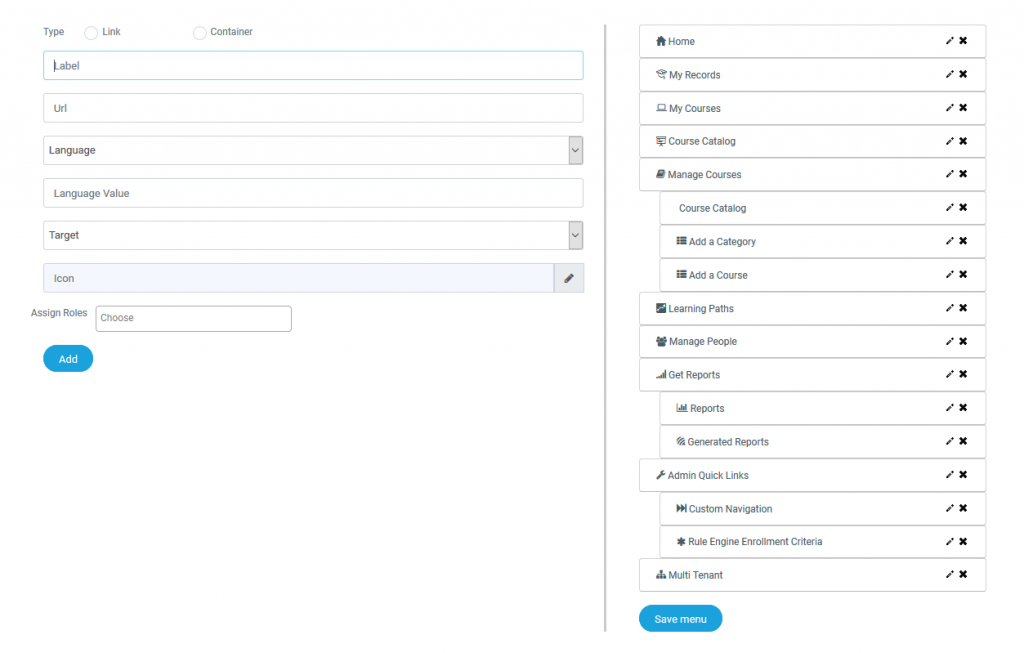
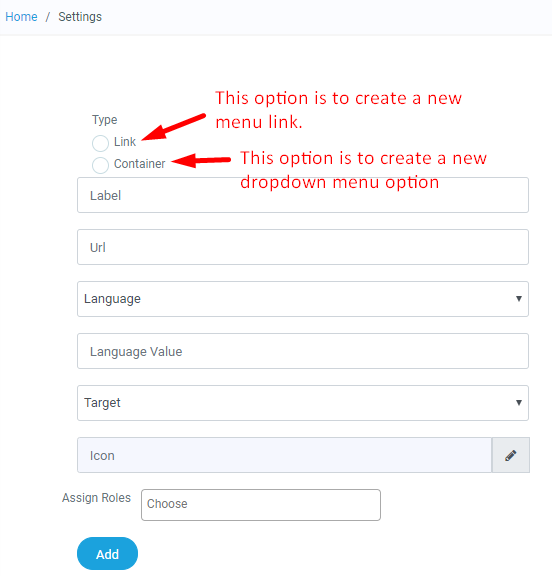
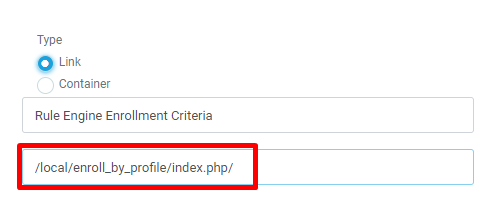
In the custom navigation page, fill out the form in the left side of the page. Start with selecting the type of menu you want to create. If you select “Link”, it will create a new menu option. If you select “Container” it will create a new drop-down menu option.
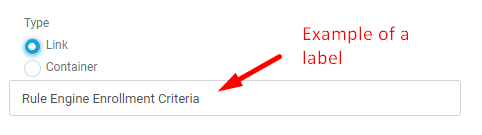
Add a label to the menu option. The label is the name the users will see in the navigation pane.
Then add the URL link. The links are URL inside the LMS. For example, if you want to create a direct link to the “rule engine” configuration page, you will have to add the highlighted part of the URL here:
![]()
Select the English Language from the Language drop-down.
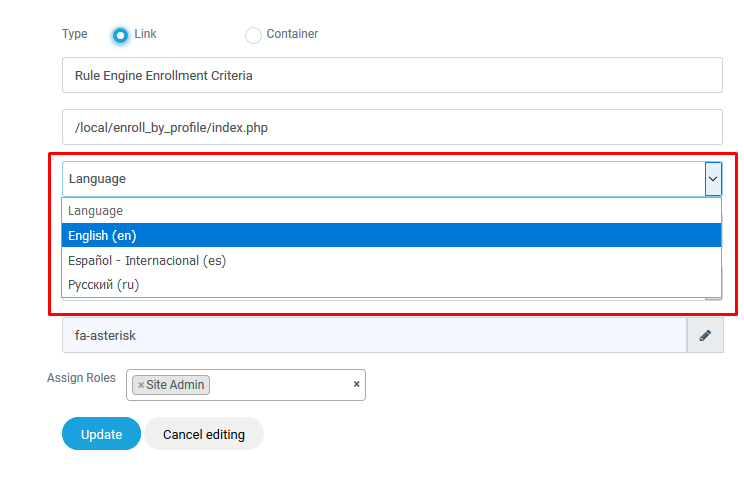
Enter the value in the input box

NOTE: Please remember if your site is configured in any other language and you want to display this link in that particular language. Then also please enter the English Language value for it and then after creating it, edit it and in Language drop-down select your preferred language and enter the language value into the input box.
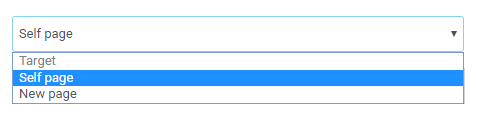
Select the target page. This is just if you want to open the page in a new tab or in the same page where users is in the LMS.
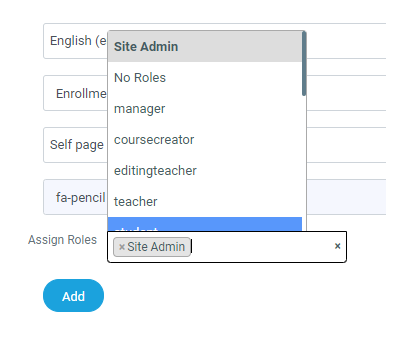
Select the icon for the new menu to identify your menu and select the users that will be able to see the menu option. In this example, only site admins will be able to see this menu option. Then click on “Add” to finish.
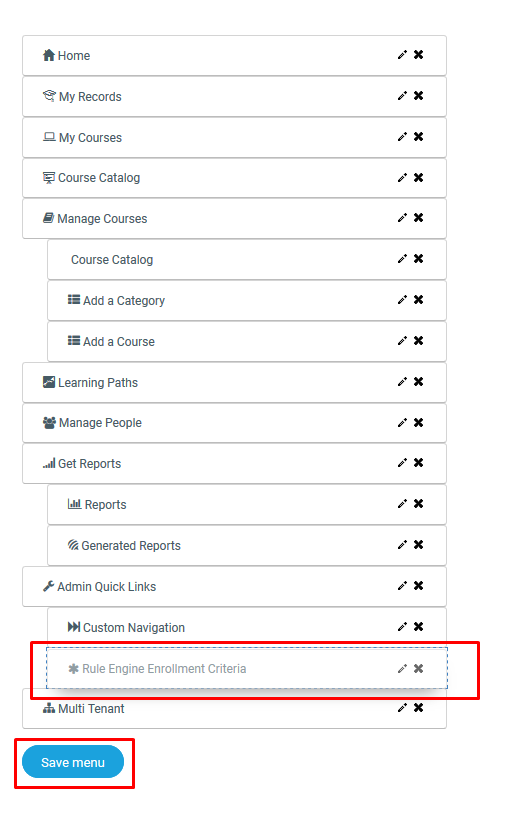
Organize the order of the newly created menu and click on “Save menu” button.
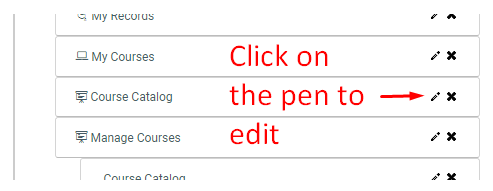
How to edit an existing menu option
In the custom navigation page, click on the pencil to edit the option.
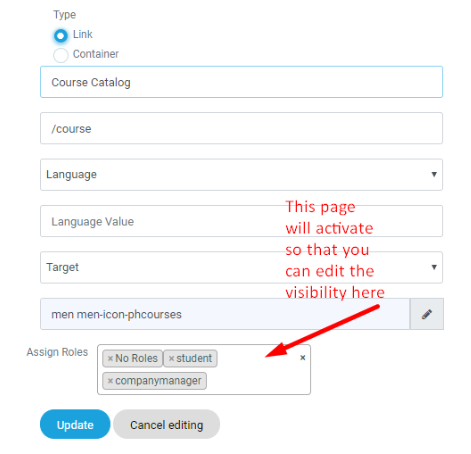
Once you click there, the left panel will show the current configuration for that option and you will be able to setup the visibility of the option on the “assign roles” section.
As per your requirement update the link and click on “Update” and finally click on “Save menu”.