This page is an introduction to LMS administration. You have a new, empty LMS site installed. What to do next?
Contents
1 Setting up the front (home) page
2 Changing the look of your site
Setting up the front (home) page
- Click the gear menu top right of the front page and then click ‘Edit settings’. Alternatively, click ‘Edit settings’ from the Administration block on your front page.
- Change the full name and short name if needed. (The short name shows in the navigation bar.)
- Decide what should be shown on the front page – news items, courses, course categories or none of these things? The same or different for logged in and non-logged in users? As for other settings, they can always be changed later.
For more information, see Front page settings.
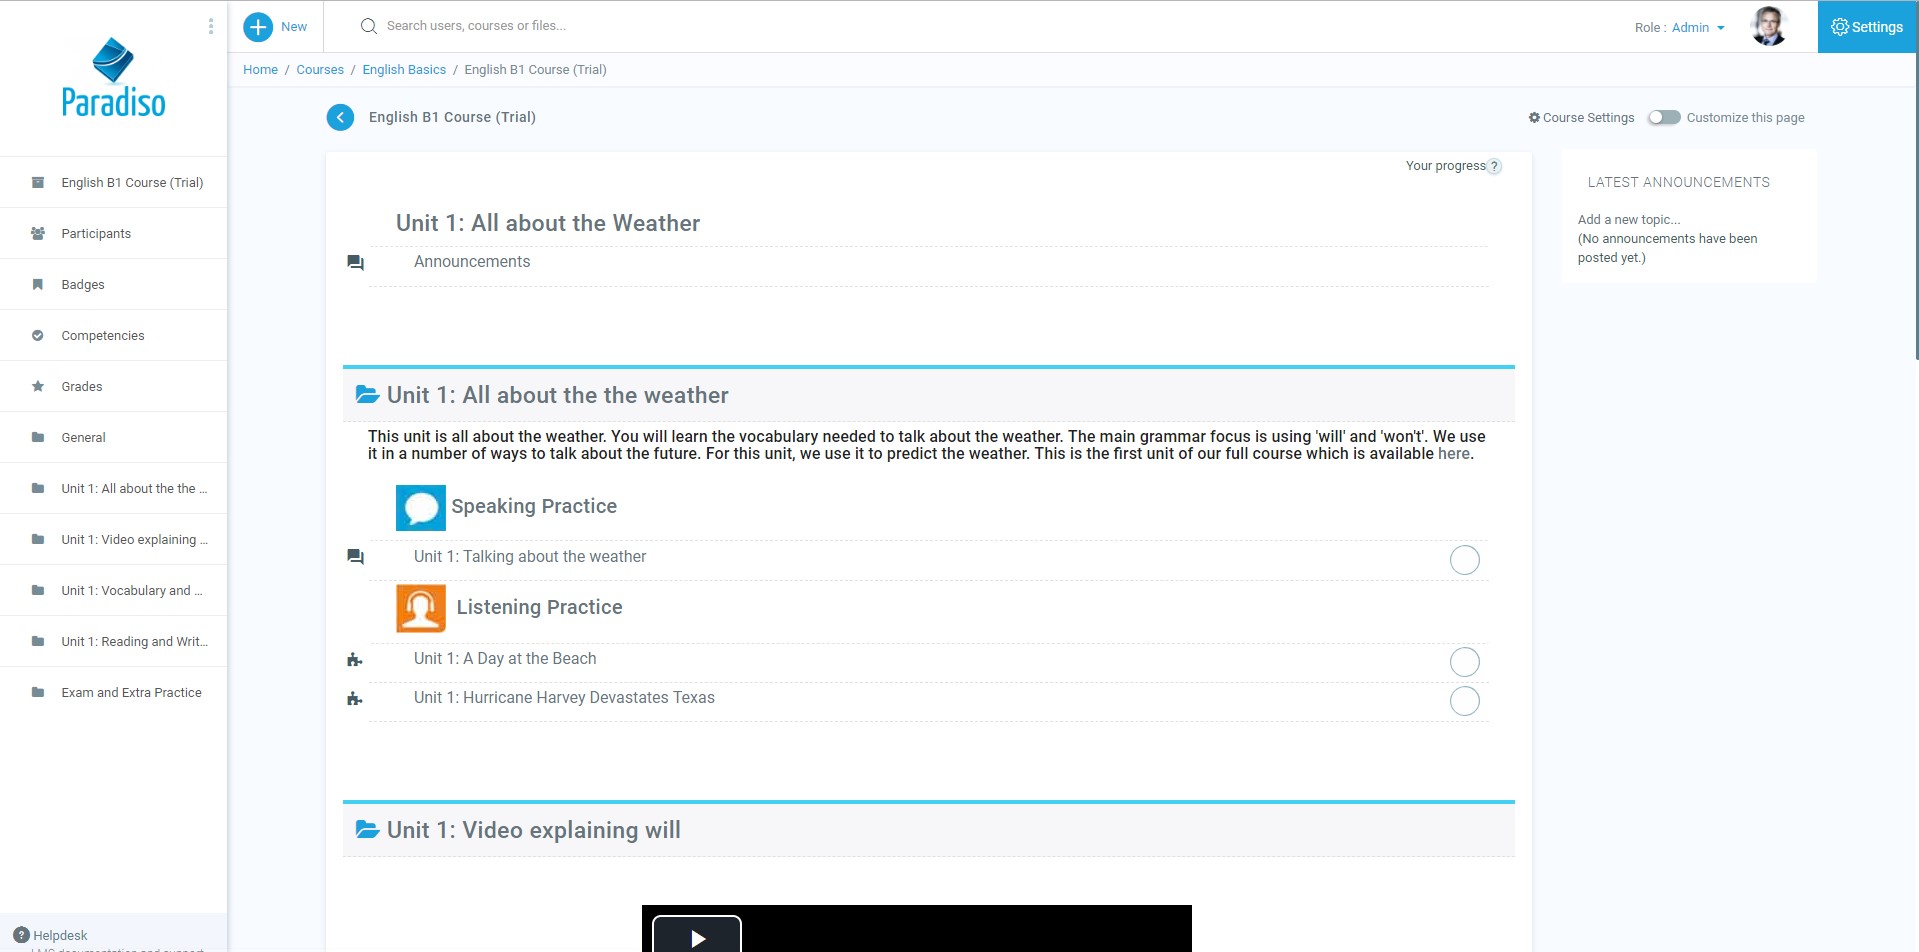
To add text and/or images to the central area of the front page
- Click ‘Customize this page’ either from the gear menu or the Administration block for other themes.
- Click the configuration icon (cogwheel) near the top of the screen. (If you don’t see this, check in Site administration > Front page > Front page settings that ‘Include a topic section’ is ticked.)
- Add text and/or images to the summary box.
Note: If you don’t want to use your front page for displaying courses or information about your organization, you can display the login page only by checking “force login” in Settings > Site administration > Security > Site policies.
Changing the look of your site
- A new LMS site comes with a default Paradiso theme. All work well on mobile devices as well as desktops, and it is designed to be easily customizable from the Themes area of Site administration.
- If your installation and organization allow it, you can install a custom theme.
Adding courses
- Courses are LMS’s learning areas, where instructors and users work together.
- You may add a new course by clicking the ‘Add a new course’ button on the front page or from the Manage courses and categories link in the Courses area of Site administration.
- If you plan to have many courses, you can upload courses in bulk via CSV file.
- If you want certain settings in your courses to be always pre-set for you when you make a new course, check out Settings > Courses > Course default settings.
See Courses for an overview of the various aspects of courses.
Adding users
This is a two-step process, although it can be streamlined.
Step 1: Authentication
Everyone using your site must have an account. You can allow people to create their own account using Email-based self-registration, or add new users individually or bulk create accounts via CSV file or choose from a number of other authentication methods.
For more information, see Managing accounts and Authentication.
Note: You do not yet decide who will be an instructor, user or another type of participant. If you’re wondering why to read the documentation on Assigning Roles.
Step 2: Enrollment
Once users have an account, they need to be enrolled in courses. (Now is the time to give them their user, instructor or another role.) You can allow them to self-enroll, or you can enroll them manually yourself or choose from a number of other enrollment methods.
For more information, see Enrollments.
Note: You can create accounts and enroll users in courses at the same time if you wish by uploading users or you can explore Cohorts, site or category-wide groups.
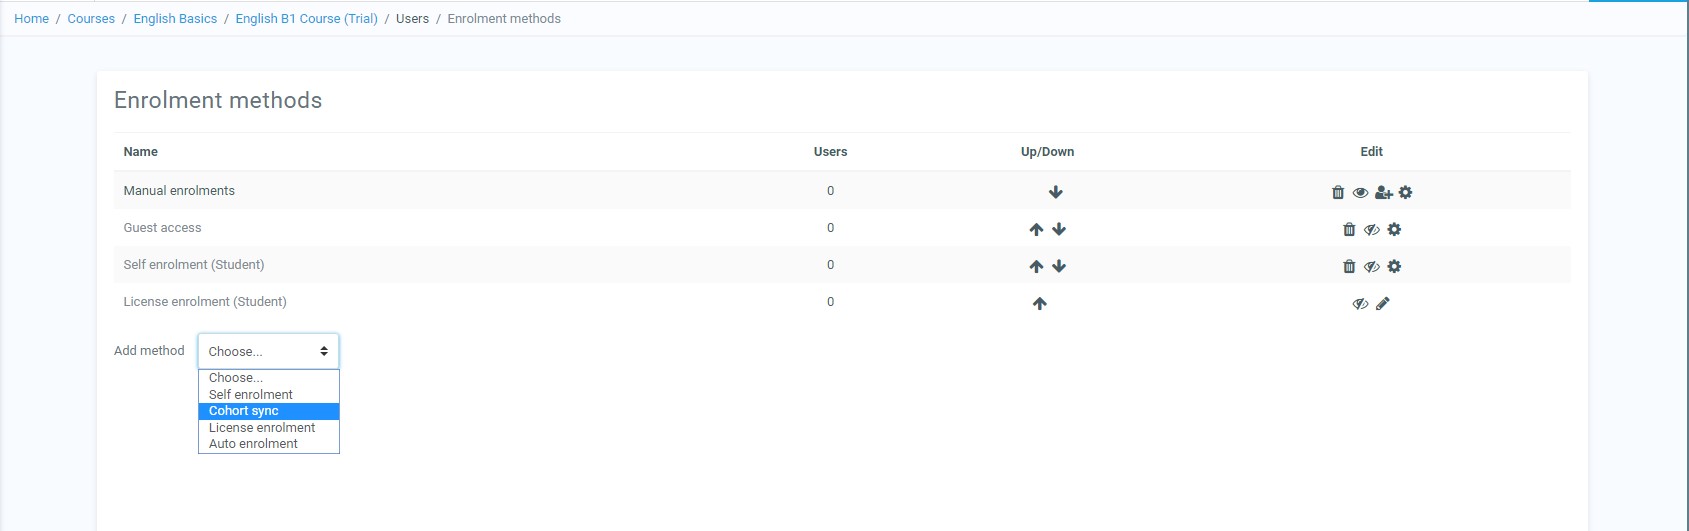
Enrolling learners into a course
File management
- Explore the process of working with files in courses so you’ll be able to advise others.
- See Managing repositories for information on allowing your users to use files from external sources (such as Google Drive, Dropbox, and MS OneDrive) in their courses.
- If uploaded file size may be an issue for you, then you can add restrictions for both the user quota and the site as a whole from Administration > Site administration > Security > Site policies.
Important default site settings
- Set your default language in Settings > Site administration > Language > Language settings. LMS defaults to common English; if you need US English or another language, add that in Language > Language pack first then you can set it as the default.
- Set your default timezone and country in Settings > Site administration > Location > Location settings.
- Turn off public Guest access (unless you are sure you know how to use it) in Settings > Site administration > Plugins > Enrollments > Manage enroll plugins and Hide its button in Settings > Site administration > Plugins > Authentication > Manage authentication > Guest login button.
- Adjust your minimum password if you need to in Settings >Security > Site policies > Password policy.
Admin tips and tricks
- Go through each activity in Administration > Site administration > Plugins > Activity modules and decide the most suitable default settings for your LMS. Do the same for the gradebook, via Administration > Site administration > Grades > General settings.
- Go to Administration > Site administration > Advanced features and review whether you want to make use of additional features such as blogs, RSS feeds, completion tracking (for both Activity completion and Course completion), conditional access, portfolios or badges.
- Consider enabling your site for Mobile app access via Site administration > Plugins > Web services > Mobile.
- Provide the user interface in different languages by installing additional language packs via Site administration > Language > Language packs.
- Use wording more suitable for your users by changing LMS’s default terms in Administration > Site administration > Language > Language customization.